Indexing & Performance
WooCommerce Appointments 5.0 introduced indexed availability to pre-calculate and cache slots in a dedicated table for faster lookups.
Why indexing?
Without indexing, availability is calculated on-the-fly for every product or calendar view. Indexing moves the heavy work to background jobs so page loads stay fast.
Enable Indexed Availability
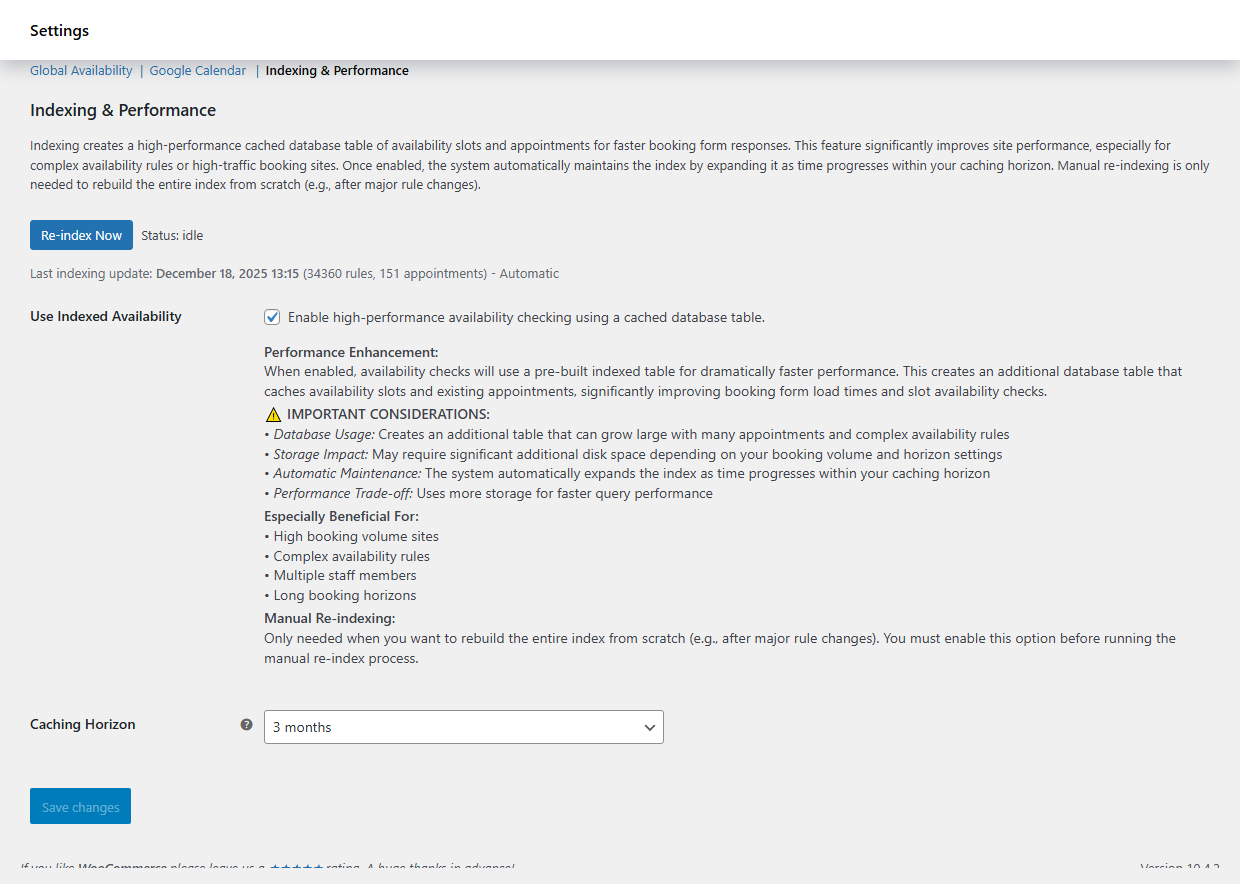
- Go to WooCommerce → Settings → Appointments → Indexing & Performance.
- Check Use Indexed Availability.
- Pick a Caching Horizon (months into the future to pre-cache).
- Click Save changes.

The indexing section shows:
- Use Indexed Availability: Enable/disable the high-performance cache
- Caching Horizon: How many months ahead to pre-calculate slots (1-12 months)
- Index Status: Current health of the index table
Manual Re-index
Run a manual re-index if:
- You bulk-changed availability rules via import or code.
- Data seems out of sync with rules.
- You just enabled indexing on an existing store.
Steps:
- Ensure indexed availability is enabled and saved.
- Find Manual Re-index section (visible only when indexing is on).
- Click Start Reindex and wait for completion.
The re-index interface shows:
- Start Reindex button to rebuild the cache
- Progress indicator during re-indexing
- Last re-index timestamp
warning
On very large stores, re-indexing is resource-intensive. Run during low-traffic windows if you have thousands of products.
Performance Notes
- Database size: Indexed table
wc_appointments_availabilitycan grow with long horizons and many rules. - Speed: Frontend searches and the Admin Calendar can be up to ~60% faster with indexing enabled.